^ ... which reveals the front panel fascia board underneath it.
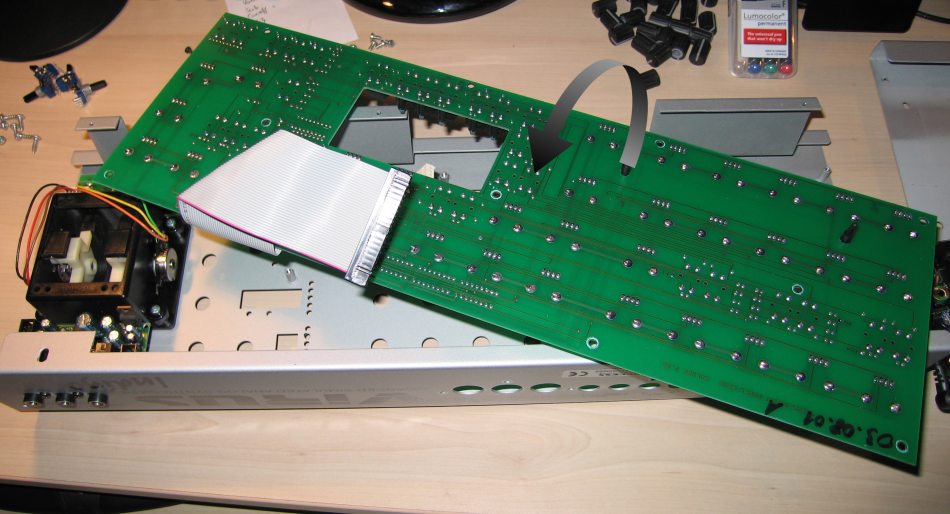
^ The front panel fascia board can now be lifted out.
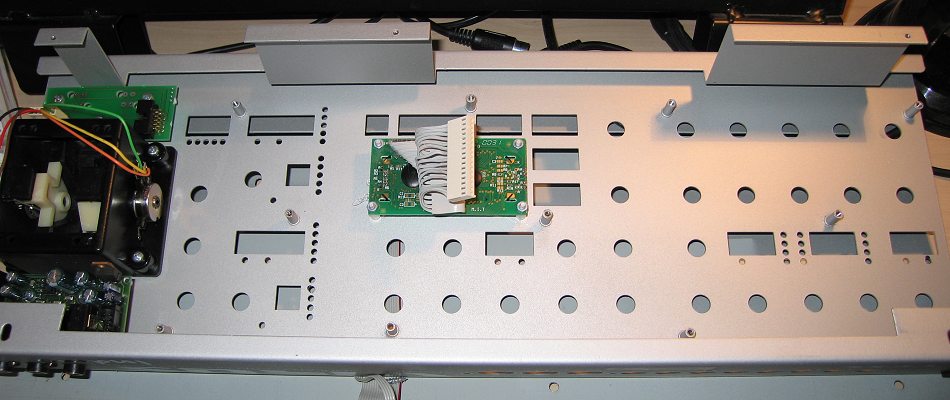
^ ... which leaves a nearly bare front panel (LCD shown in the middle, and Pitch/Mod wheels to the left).
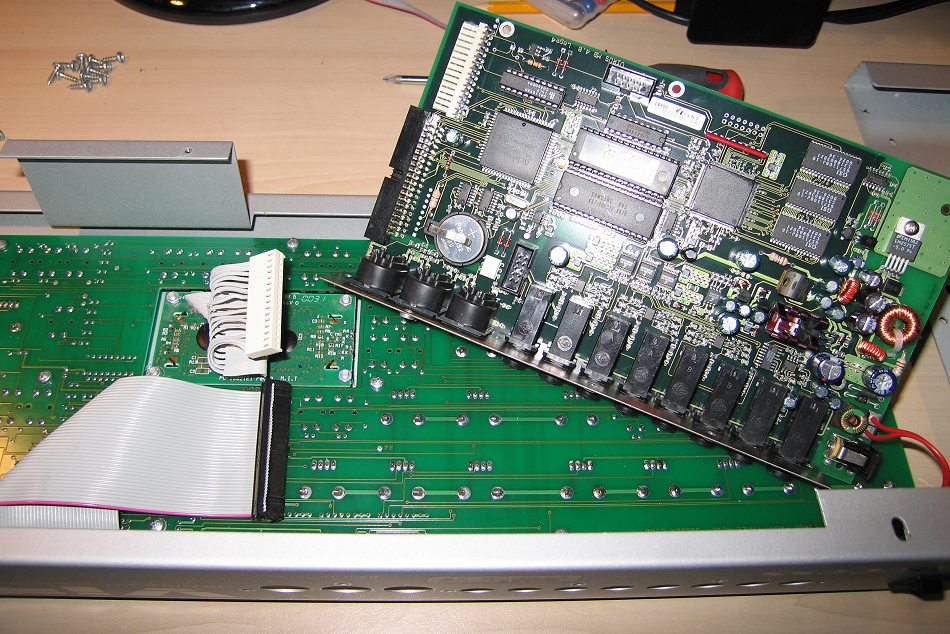
^ So we finally have full access to the front panel board!
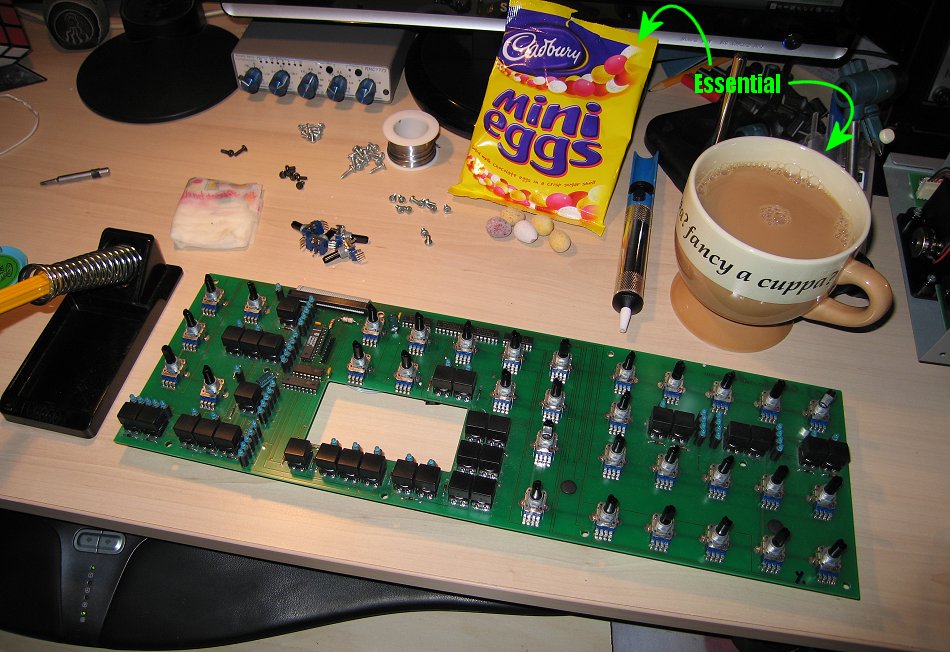
You will need (from the left):
* Low-wattage soldering iron, with a fine tip.
* Wet sponge/paper for cleaning the iron
* New pots
* Solder (not too bulky/thick)
* A bag of chocolate mini-eggs
* Solder-sucker
* A bucket of tea.
* Wire cutters or similar (not shown)
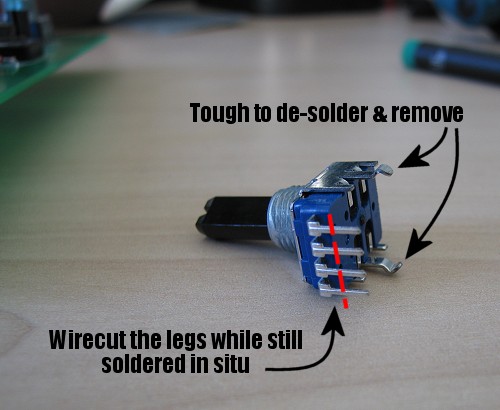
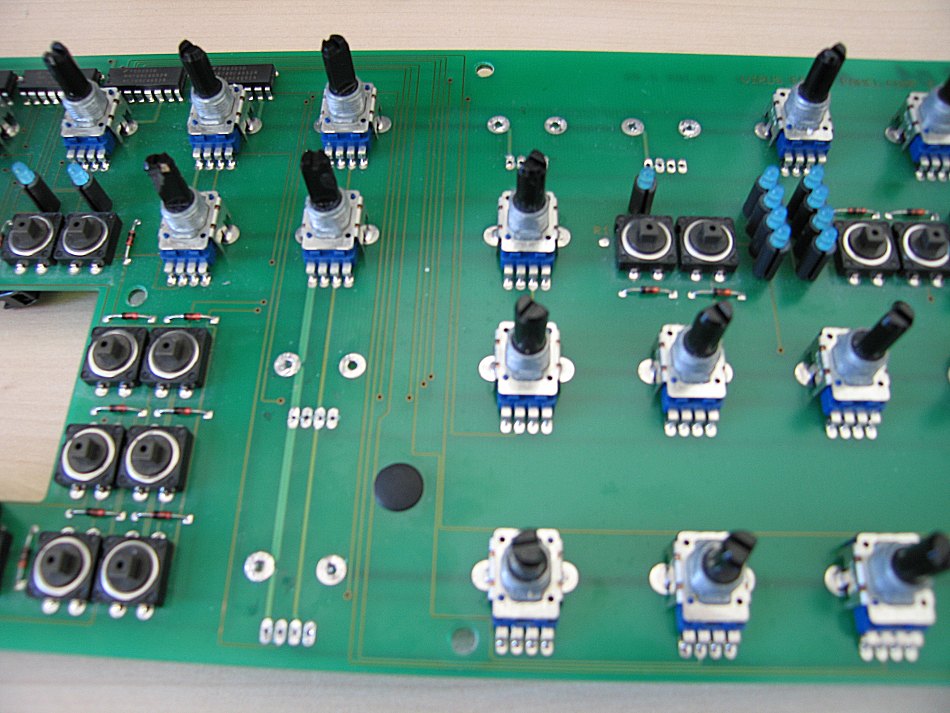
^ If you look at one of the new pots, you can see it has six legs. The hardest part in removing the old pots are the two main large legs that have kinks in them, they grasp the board holding them firmly in place in addition to being soldered in. So 1) it's harder to get all the solder out when de-soldering it (you have to suck the solder out both the bottom and top), and 2) you have to have nerves of steel when it comes to prizing the pot out.
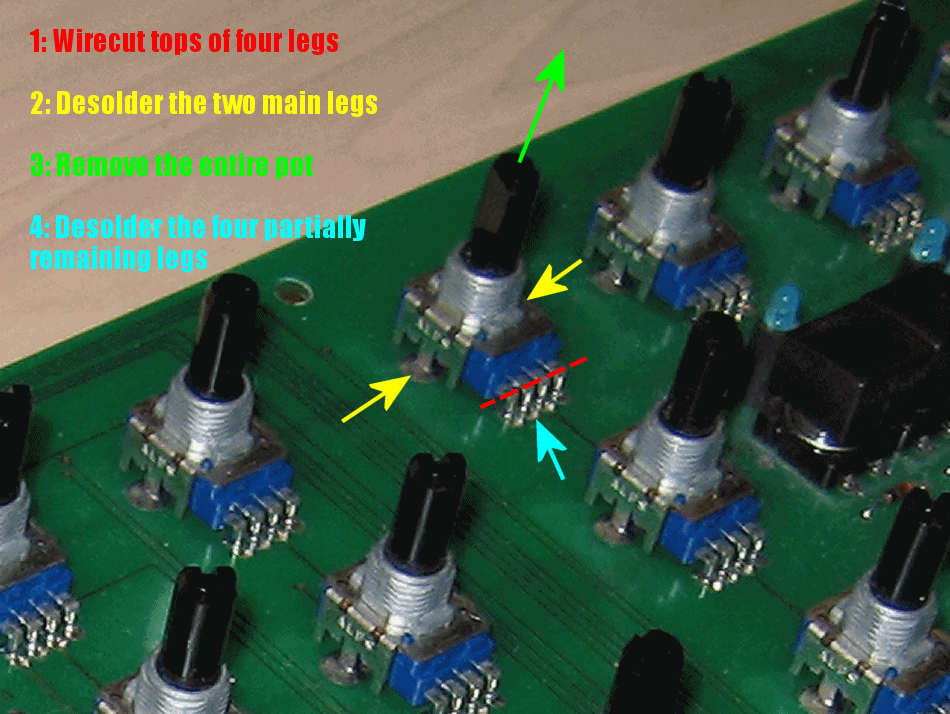
^ Regards the four legs, I found it easiest just to use a wire cutter to cut the tops of them (shown on dotted red line) while still in situ (soldered in). Had to take great care as the wire-cutters are a little bulky and could easily scrape the board while cutting the legs off if you weren't careful. After that, de-soldered the two main legs (highlighted in yellow) using a soldering iron and solder sucker. Be careful you don't inadvertently touch the barrel of the soldering iron onto the Virus buttons or the shafts of neighbouring pots (they melt very quick! Luckily it was just a nick.) whilst de-soldering. Then had to wiggle the pot(s) out of the board, which is the most frustrating part. Once the pots are out, you can simply remove the four partially remaning legs on the board via the soldering iron and sucker. Just heat them briefly, they come out really easily. Use the solder sucker to remove any solder left behind.
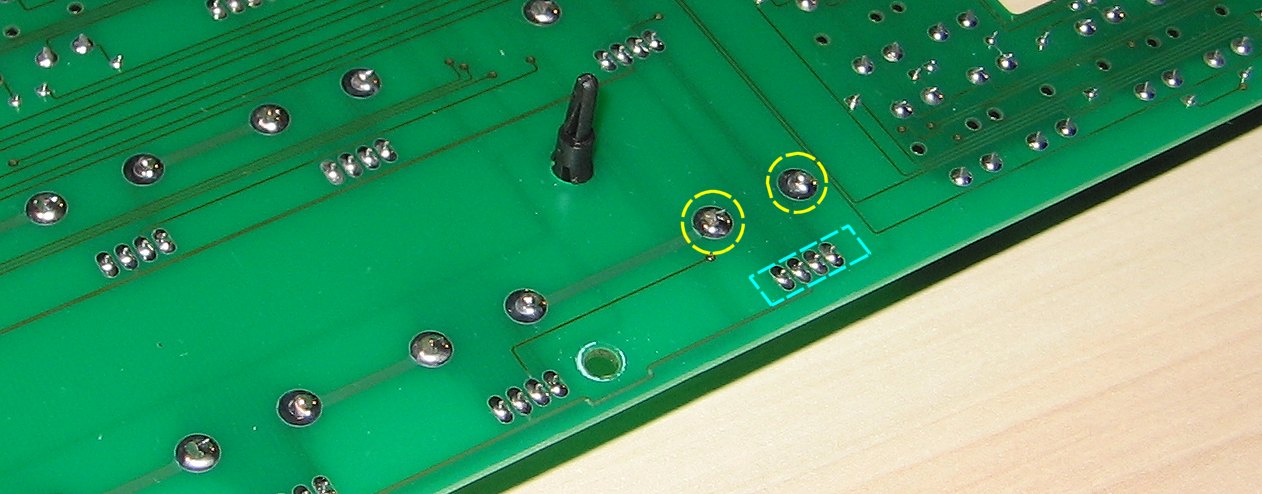
^ Shows the other side of the board showing the 'footprint' of a pot before de-soldering. Two main tricky legs circled in yellow, with the four other legs circled in blue.
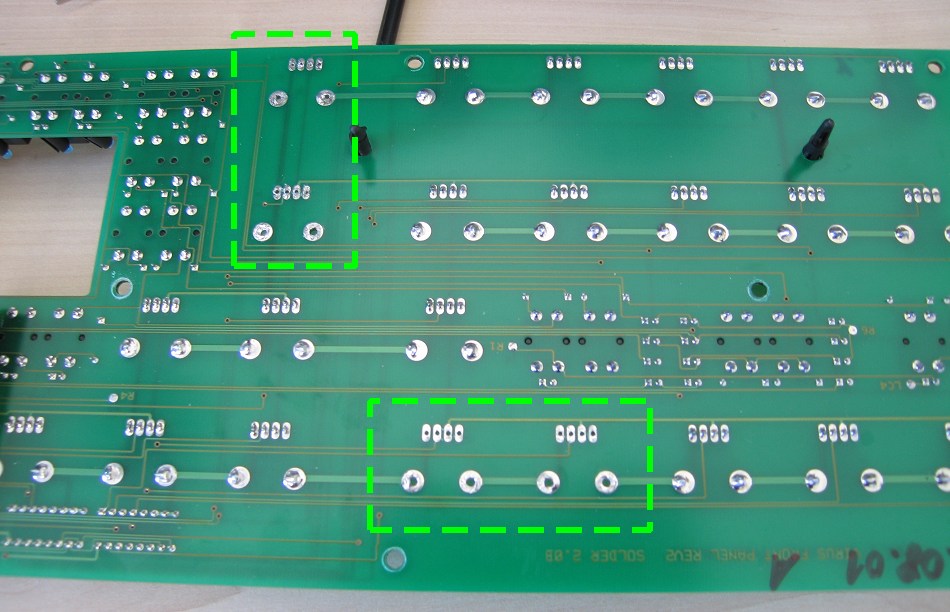
^ In my case I had to remove four wobbly pots - which are shown removed.
^ From the other side (I'd removed the buttons by that point, in case I touched any others with the iron by accident! They easily flick out by gently levering them.). Found soldering the new pots into the board a doddle ONLY if the holes on the board are neatly de-soldered and maximised beforehand. It's a pain otherwise, as the new pot and all of its six legs need to be properly inserted before you start actually soldering them in place.
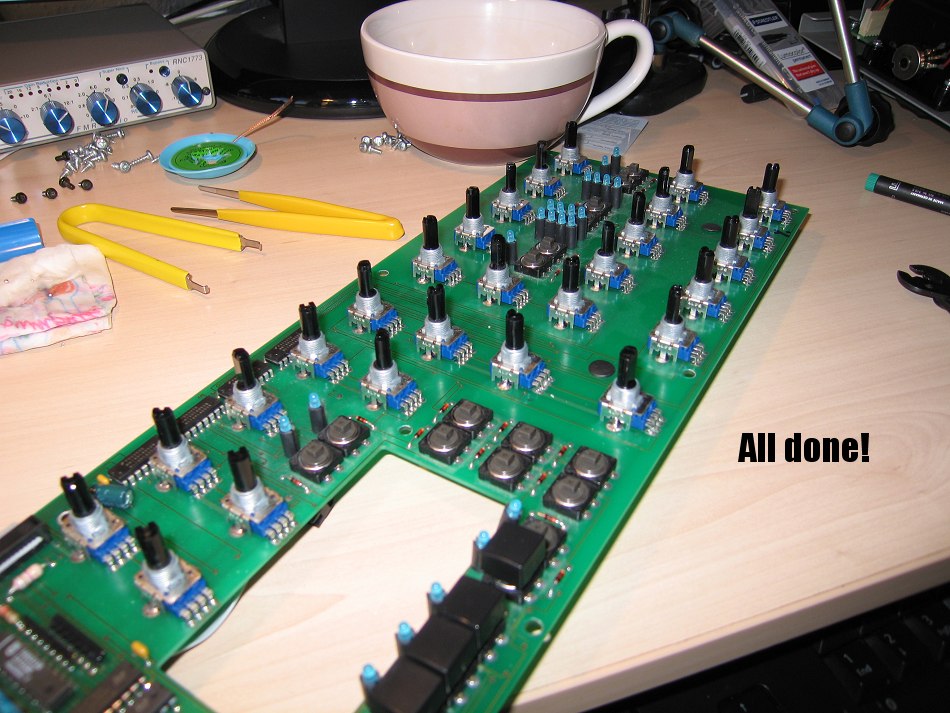
^ All pots in place and soldered!